head to head
 vs
vs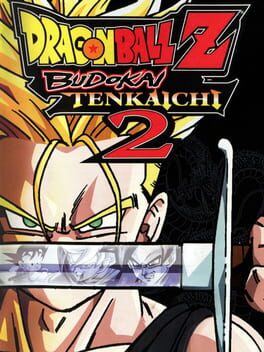
Def Jam: IconvsDragon Ball Z: Budokai Tenkaichi 2
Def Jam: Icon leans Execution (Pure Mechanics); Dragon Ball Z: Budokai Tenkaichi 2 leans Execution (Competitive PvP).
Def Jam: IconDragon Ball Z: Budokai Tenkaichi 2
Axis by axis
Execution7 vs 6
Def Jam: Icon leans harder on execution: Analog strike timing and beat-synced hazard dodges demand sharp hands
Reads4 vs 5
Dragon Ball Z: Budokai Tenkaichi 2 leans harder on reads: Versus friends, baiting transformations and dodges matters
Variance1 vs 1
Even - both lean on variance about the same.
Optimization4 vs 4
Even - both lean on optimization about the same.
Two games can score the same on an axis and still test it in very different ways - read each rationale, not just the number.